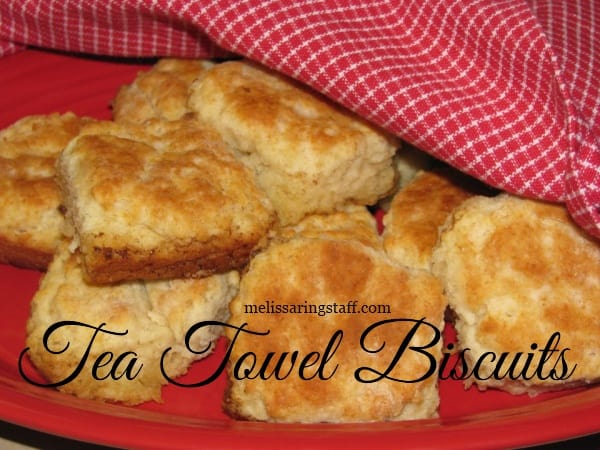
Tea Towel Biscuits
 ** I posted this recipe years ago, and somewhere a long the way, it got lost. A sweet lady emailed me today and asked me about it, so I decided to dig it out and post it again! **
Download the .pdf of this tutorial here.
Okay, Ladies. Every homemaker needs to know how to whip up a feathery batch of homemade biscuits. As a Southern girl, myself, I grew up eating these delicious bits of bread, heaven in your hand, throughout the week. Biscuits compliment almost any meal, any time of the day – including snacking.
[Tweet “Learn how to make Tea Towel Biscuits. Find the #tutorial here:”]
Homemade Tea Towel Biscuits
Ingredients:
3 cups self-rising flour
½ cup shortening or real butter
1 1/4 cup milk or buttermilk
Method:
Step #1: Preheat your oven to 450 degrees. I like to put a good bit of butter in a cast iron skillet to melt while I’m making the biscuits.
Step #2: In a large bowl, measure out 3 cups of self rising flour. I like to use King Arthur Self Rising Flour. White Lily is recommended as well. Alternatively, you can use 3 cups all-purpose flour and add 4 tsp. baking powder and ½ tsp. salt.
You want your flour to be fluffy, so be sure to sift it, or fluff it real well with a spoon before measuring and then carefully spoon the flour into your measuring cup. There is no need to scrape the top off with a knife. You do not want too much flour, else you will have heavy biscuits!
Step #3: Cut in 1/2 cup vegetable shortening. Vegetable shortening in my opinion gives the biscuits the best flavor when you use real butter in the cast iron skillet or baking dish. I use my own red- handled, vintage pastry cutter for this, or you can use a fork, or even your fingers. You want the butter to turn into pea size bits.
Step #4: Now, add 1 1/4 cup of milk, butter milk, or plain yogurt. If the dough is too dry you can add a little more milk. Stir with a fork just until combined – don’t overdo it. You want the dough to be soft, not wet.
Step #5: Lay out your Tea Towel and sprinkle lightly with flour in the center – as you would the counter. Place your ball of dough in the center of the towel.
Step #6: Now, simply fold the towel over the dough and knead once. If the dough is a littlewet, you can sprinkle a bit of flour over the top to prevent sticking. Too much kneading will make your biscuits heavy and tough. You just want to bring the dough together.
Step #7: Pat your dough out into a circle about 1/2 inch thick.
Step #8: Use your a biscuit cutter or a glass to cut out your biscuits.
Step #9: Place each biscuit on your buttered baking pan or in a well buttered cast iron skillet. If the skillet was heating in the oven, remove it from the oven and place each biscuit into the melted butter – this makes a nice crisp, buttery crust! You want the biscuit dough to touch so that the biscuits rise up nice and fluffy. This recipe make about 12 biscuits.
Step #10: Bake at 450° for about 10 minutes or until lightly golden brown. You can brush the tops of each biscuit before baking with milk or melted butter for a glossy golden finish.
Step #11: Clean up is a snap, simply shake excess bits and flour into trash bin and toss the towel in the wash. The whole process, from start to pulling the biscuits out of the oven only takes 15 minutes!
While you are at it, make a double batch, and treat yourself to leftovers or tuck a biscuit with jam in your child’s lunch. Serve with gravy, sliced tomato, sautéed squash, eggs, jam, honey, or just about anything. They are scrumptious!


4 Comments