Blogging: A Week in the Life of a Busy Blogger Mom
I know lots of women are trying to juggle home life, family life, and a blog at the same time. If you have a family and desire to run a successful blog and even make a full time living from blogging, you’ll just have to keep trying until you figure out what works for you. I’ve been running A Virtuous Woman for over 15 years. I’ve raised five kids during that time.
I still have four daughters at home ages 21, 19, 15, and 13. My 21 year old daughter’s time is split between working at a summer camp, traveling, and living at home. My 19 year old is currently attending community college in town and she does not have a car or drive yet. My 15 year old daughter is a figure skater and we do a lot of traveling for that. And my 13 year old is involved in music as well as gymnastics. The youngest two are also still homeschooled.
I wanted to give you a look into how I balance time between blog work and family life. I’ll be honest, this year has been very challenging for me as a mom and as a blogger. My 21 year old daughter has Crohn’s Disease and she spent the first half of this year plus the last half of last year in and out of the hospital, very ill, and needing a lot of care.
Because we have been and continue to be very busy, my house right at this moment really needs an overhaul, a good cleaning and decluttering and I need to complete 3 different major household projects that are currently sitting undone. We’ve been traveling much of the last two months so I’ve had little time for household projects!
That’s the thing about trying to do it all. More often than not, eventually something will fall behind or consistently go undone. But, it is possible to stay on top of things {mostly} most of the time.
I’ve talked before about how I blog in the “in between times” of my life. That’s what I call those moments when nothing else is pressing.
I wanted to give you a realistic look into how my weeks look and when I find time to blog. Your weeks will undoubtedly look different, but perhaps you’ll find some creative ideas from looking at my schedule to use in your own. My weeks these days look a little different than they did when my children were little, but I’m just as busy now if not more.
Also, I should point out that my husband does most of our grocery shopping and I only go out shopping every now and then.
Some things that are different from usual these last two weeks:
- My two older girls are not at home.
- We’re not currently homeschooling since it’s summer.
- Our home ice rink was closed for renovations so our figure skating schedule on Wednesday is a little different.
- We are not currently on a good routine as we’ve been on the road much of the last two months.
Some things that didn’t work really well this week:
- I didn’t get in my devotion time every day.
- I didn’t get much housework done.
- I did not get much scheduled on social media this week.
- We didn’t get much exercise this week and we spent at least 20 hours in the car.

A Week in the Life of a Busy Blogger Mom
Below you’ll find my blogging related activities highlighted in pink. You can see I don’t usually spend hours working every day. I work here and there when I can grab some time. I make a full time living working part time as a blogger!
Also, you’ll see I haven’t mentioned the many interruptions and distractions and the mundane ho hum of every day living.
This week I published 3 blog posts and sent out 2 or 3 new emails.
Sunday, June 19 – Father’s Day
7:00 AM I woke up, took a shower, and got dressed. Spent some time in prayer and devotion.
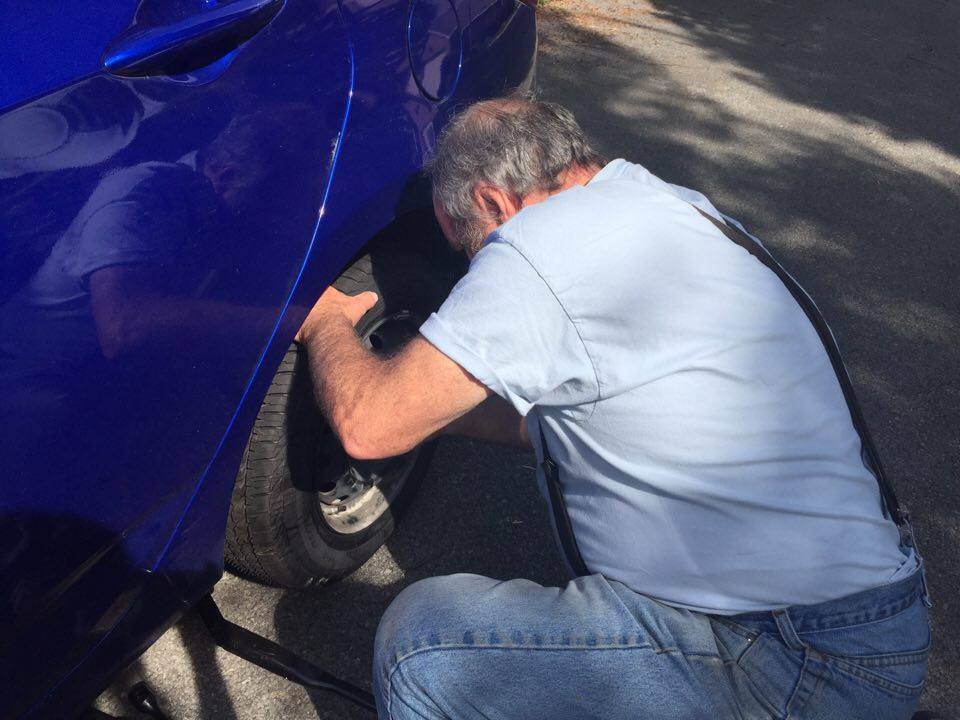
8:00 AM My daughter Sarah came in late the night before and had a flat tire when she arrived in the driveway. She planned to spend the night and drive to Georgia this morning. So, my husband left the house at 8:00 am to drive her tire over the mountain to get it fixed. Before he left I help him take the tire off her car. What a great dad!
8:30 AM The girls fed the cats, dogs, and rabbits.
10:00 AM Laura finished up making a father’s day breakfast just as my husband arrived back home. She made Orange and Blueberry Crepes Suzette. It was delicious!

10:30 AM I helped replace the new tire on Sarah’s car and then she left for Georgia to visit family. I cleaned the kitchen. Hannah and Laura helped clean the living and dining rooms, the bathrooms, and the litter boxes. Hannah vacuumed. We also folded some laundry and put that away.
12:00 PM I spent a three hours writing a blog post and writing/ scheduling emails for an upcoming Affiliate Sale.
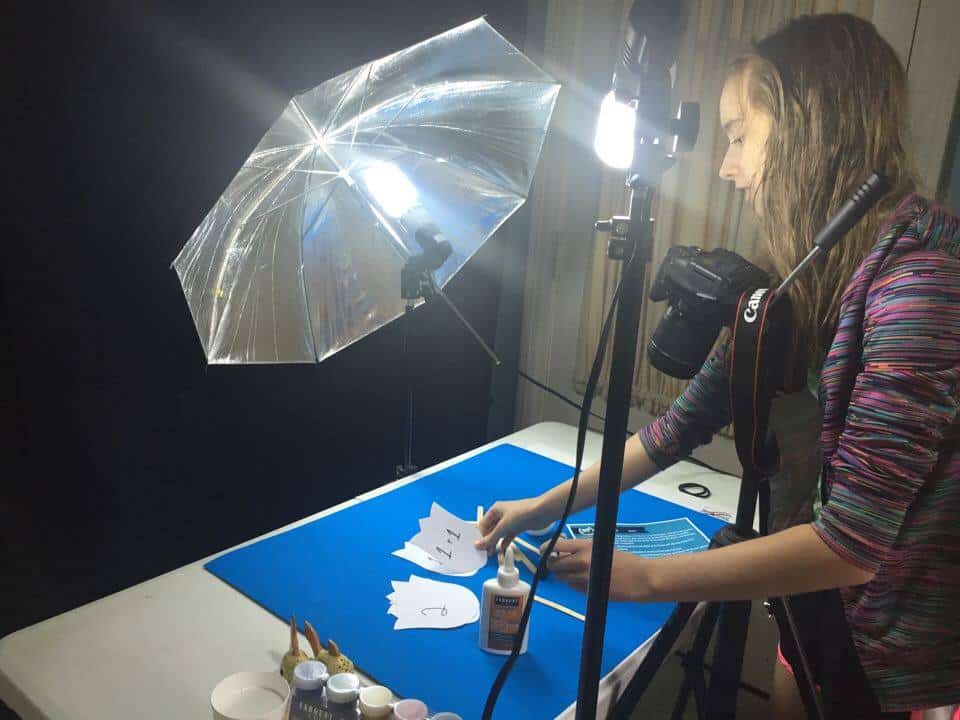
3:00 PM I helped Laura set up the video shoot for her paid job and she worked on it alone after that. I posted a “Help Wanted” post in a Facebook group for a VA {virtual assistant} to help me with marketing and social media several hours a month because I’m really strapped for time.
5:00 PM I began to get dinner together to take to the church for a Father’s Day Work-Bee and Dinner.
5:45 PM We left for church.
8:00 PM We came home and I had to wash a load of laundry and get our bags packed for a trip to Nashville. Laura worked on editing her video. I gave her my input.
9:30 PM The girls and I took care of the cats, dogs, and rabbits.
10:00 PM We uploaded Laura’s video to dropbox so she could email the link to the blogger who commissioned her to do the video.
12:00 PM I tucked the girls into bed and went to bed myself – much later than planned.
Monday, June 20
5:00 AM I woke up, took a shower and got dressed. Threw the laundry into the dryer. Woke up the girls. Finished packing our bags. Laura emailed the link to the video to the blogger.
7:00 AM We loaded the car and left for a 5 hour drive to Nashville.
9:00 AM I spent some time while my husband drove catching up on social media posts and answering emails using my iPhone.
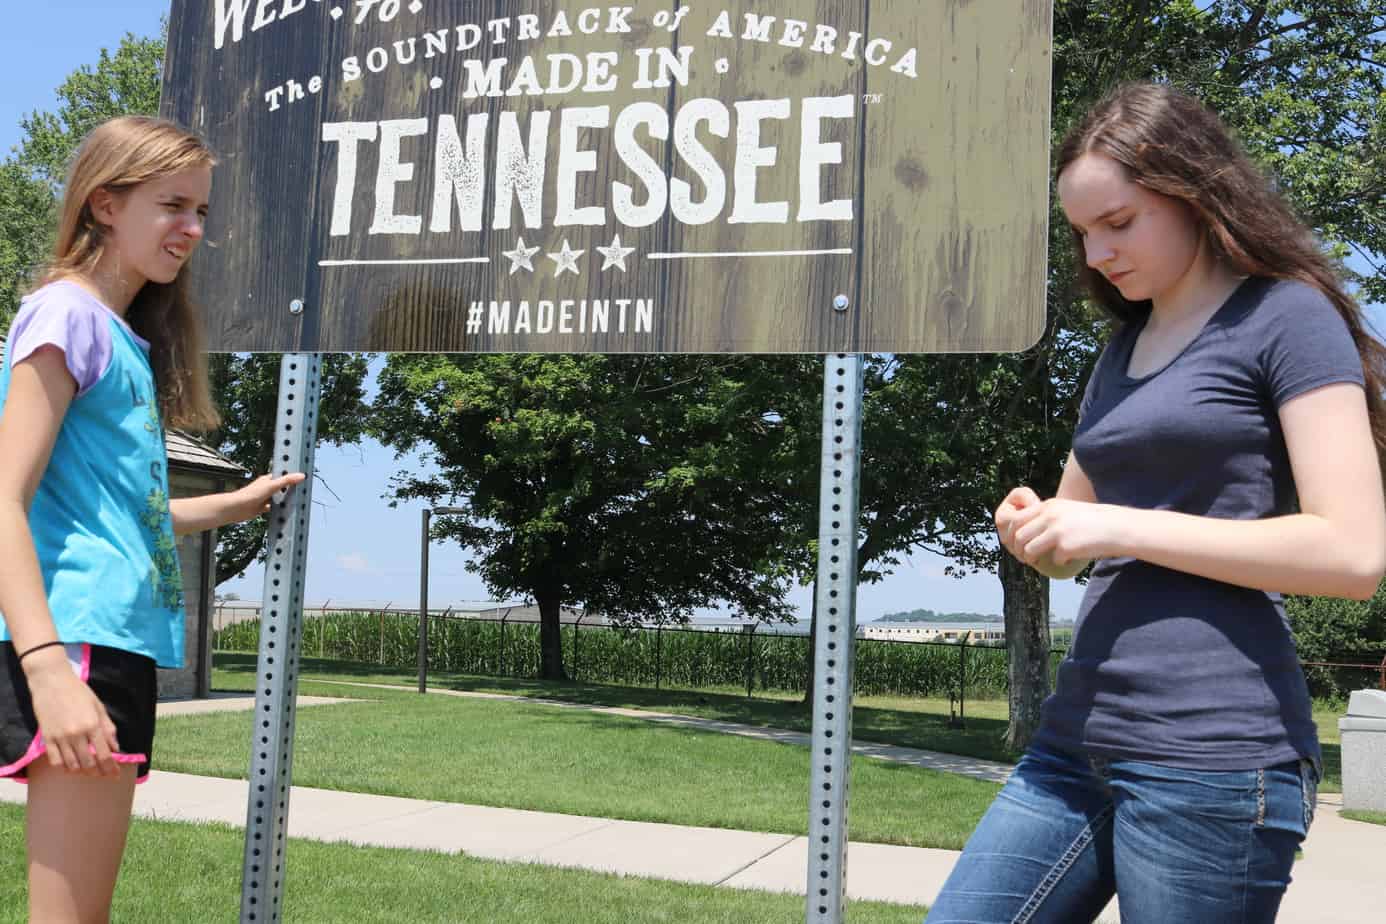
12:30 PM We arrived in Nashville at our hotel and checked in.
1:00 PM We arrived at the conference office for our scheduled ministry meeting. The meeting lasted 4 hours without a break! Last year they had food at the meeting. So we didn’t eat lunch. By the time the meeting was over, we were all starving!
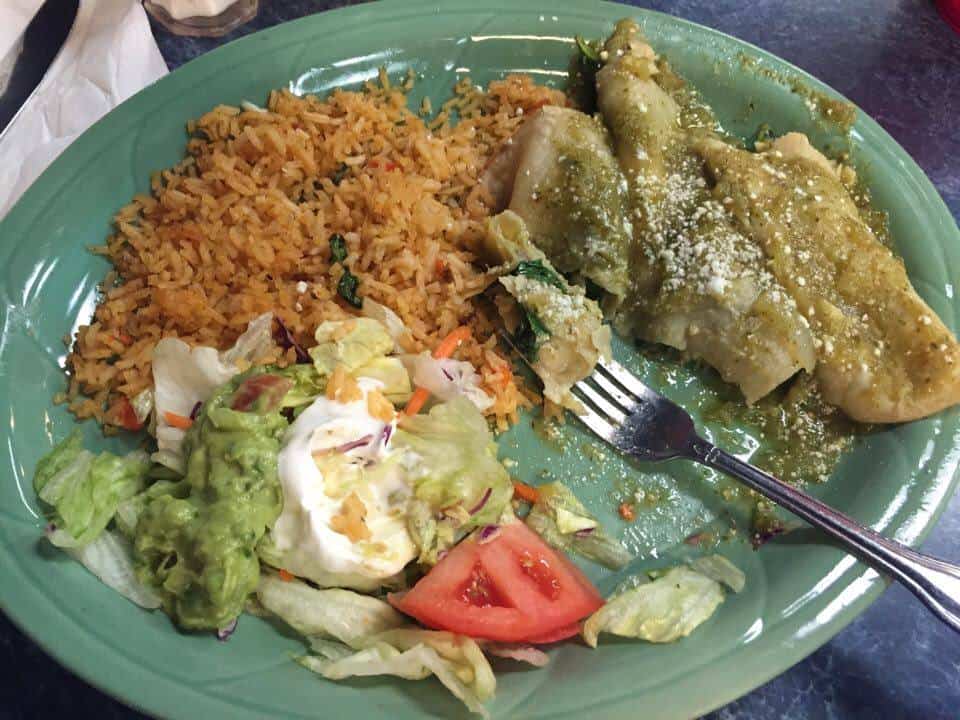
5:00 PM We met a friend at a Mexican restaurant across from our hotel and ate supper. This was a nice treat as the meal was paid for as part of our travel expenses! I had the Avocado Enchiladas and they were amazing.
6:30 PM We went back to our hotel room. I thought I would have time and energy to work on a blog post, but I was exhausted.
7:00 PM I spent an hour talking to my daughter Emily on the phone when she called.
8:00 PM I took Hannah and Laura to the hotel pool to swim.
9:00 PM We came back to the room. Hannah and Laura took showers.
10:00 PM We turned out the lights and went to sleep.
Tuesday, June 21
4:00 AM I woke up and took a shower.
4:30 AM Woke up Hannah and we finished getting dressed. Mykal and Laura stayed asleep.
5:15 AM Hannah and I left to drive to the Ford Ice Center in Nashville. We ate KIND Breakfast Bars in the car on the way and drank water.
6:00 AM We arrived at the Ford Ice Center. Hannah put on her skates and went to warm up on the ice.
6:30 AM Hannah’s coach came out to give her a 1 hour private lessons. I sat and watched the lesson and chatted with another Figure Skating mom.

7:00 AM I posted a couple of picks to Instagram.
8:30 AM I had a talk with the coach about Hannah’s upcoming test. Hannah took off her skates.
9:00 AM We left the ice rink and headed back to the hotel. Traffic was heavy.
10:00 AM We arrived back at the hotel and grabbed some food off the breakfast bar just as they were putting things away.
11:00 AM We checked out of our hotel and drove back home. I slept most of the way home.
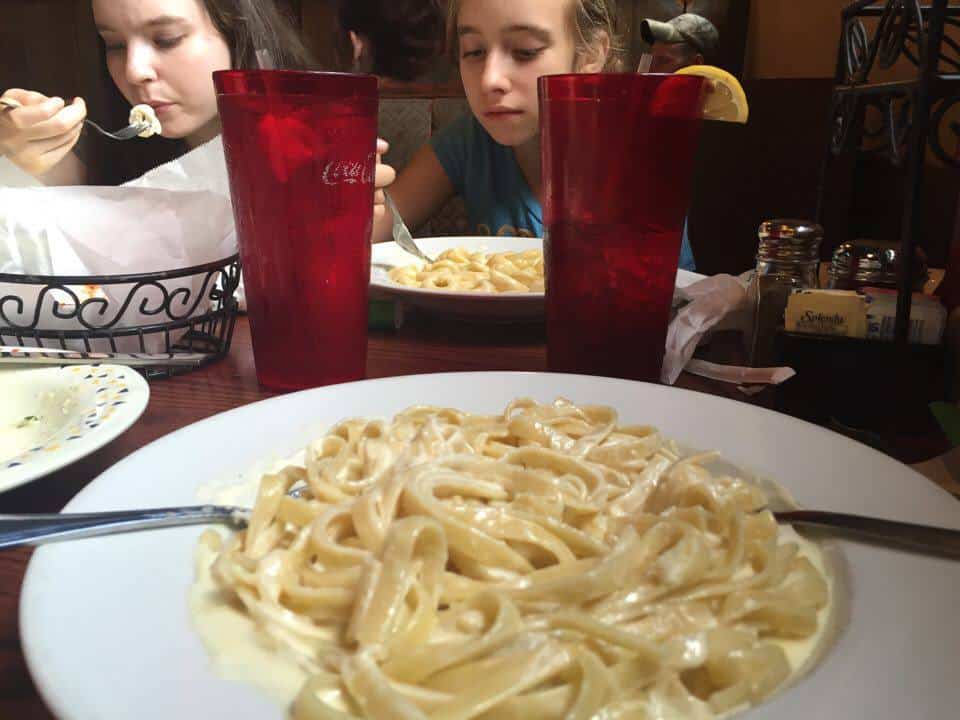
5:00 PM We stopped at Gondolier’s restaurant in London, Kentucky for supper. We had a $60.00 gift certificate so it was free!
8:00 PM We arrived home and watched a program on Netflix and basically just relaxed which was nice.
9:30 PM The girls and I took care of the cats, dogs, and rabbits.
10:00 PM We went to bed.
Wednesday, June 22
6:00 AM I woke up and took a shower and got dressed.
6:30 AM I woke up Hannah and Laura and had them get their showers and get dressed. I loaded the dishwasher. The girls fed the cats, dogs, and rabbits.
8:00 AM We loaded the car and headed to Knoxville which is a 2 1/2 hour drive from our house.
9:00 AM We stopped in Middlesboro {on our way} to let Laura pick out a new pair of glasses.
10:00 AM We continued our drive to Knoxville, stopping at the post office along the way.
12:00 PM We arrived in the Knoxville area. We stopped at Speedway gas station and ordered sub sandwiches and tater tots in the cafe for lunch.
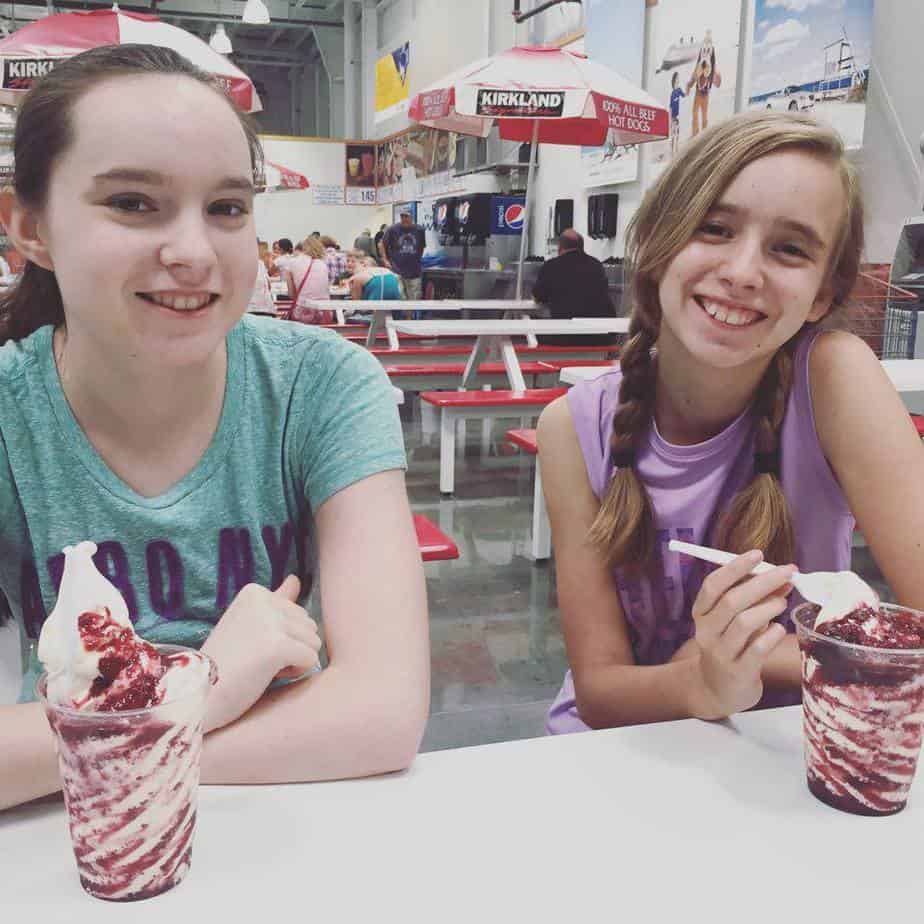
12:30 PM We went to Costco and bought a few things including commercial grade string lights for our front yard picnic area. Mykal {my husband} bought the girls ice cream sundaes and we sat down to enjoy those.
2:00 PM We drove to the ice rink. Hannah got on her skates. While I waited for her to get her skates on I fixed a plugin issue the blog was having.
2:30 PM Hannah skated for an hour. I sat in the ice rink coaching her and we worked on the landing for her salchow jump over and over and over again for an hour.
2:45 PM I posted a video to Instagram.
3:30 PM Hannah rushed to get her skates off and we loaded the car.
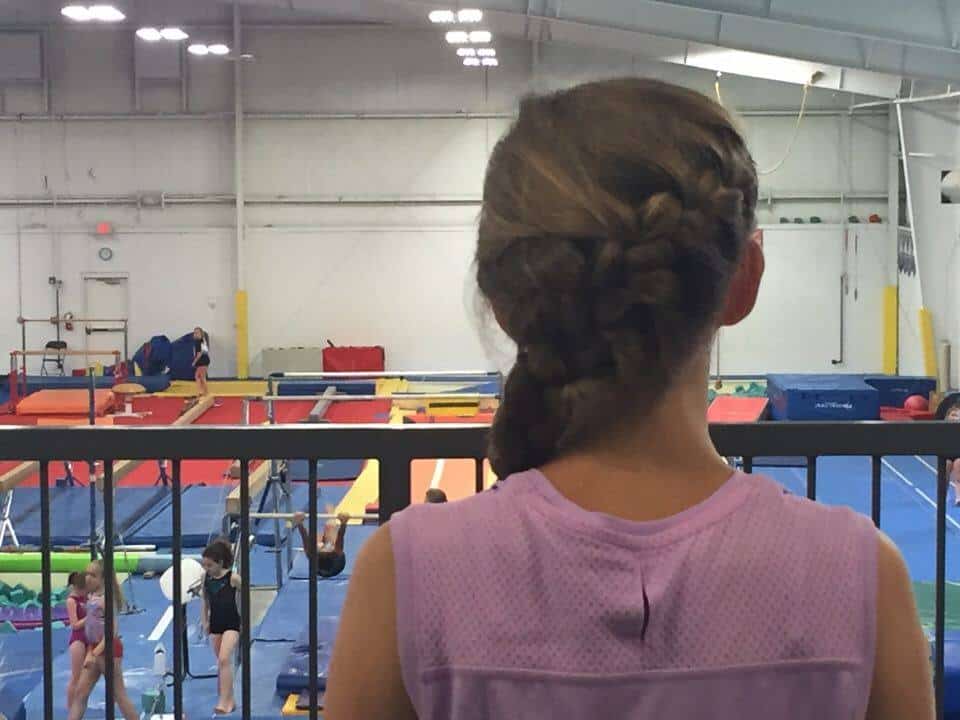
3:45 PM We arrived at the gymnasium for Laura’s gymnastics lesson. I braided her hair before she went to her class.
4:30 PM I posted a video to Instagram.
5:00 PM Laura’s lesson ended and we drove to the gas station and picked up some snacks and a drink.
8:30 PM We arrived home. We ate Trader Joe’s Palak Paneer and Rice for supper. We watched a program on Netflix during which I worked on a blog post, created the images, and scheduled the post for Thursday morning.
9:30 PM The girls and I took care of the cats, dogs, and rabbits.
10:00 PM I tucked the girls into bed and shut the house down and went to bed.
Thursday, June 23
7:00 AM I woke up. My husband and I spent a little while talking before getting out of bed. Today was Laura’s 13th birthday!
8:00 AM I woke up the girls and told them to get dressed. I got dressed too. For some reason I was too pressed for time to take a shower so I put a hat on my head. The girls fed the cats, dogs, and rabbits.
8:30 AM We ate a quick breakfast. We went to load the truck and I started to leave when I realized I didn’t have rope with me. So we went back to the house, and searched for the rope. Which took forever.
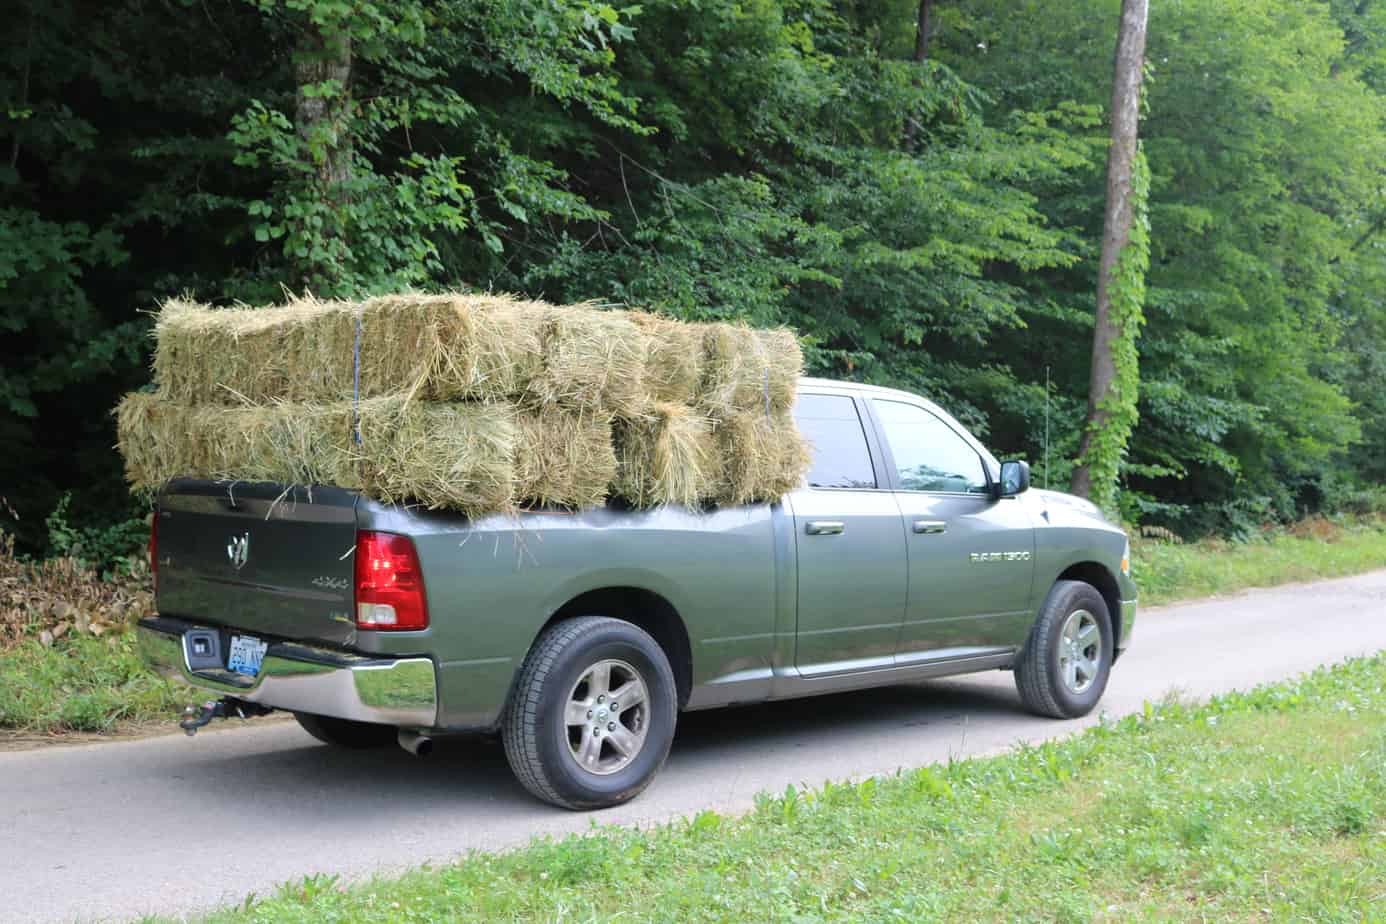
9:30 AM I left with Hannah and Laura to go pick up a load of hay for our horses. It wasn’t what I wanted to do on Laura’s birthday but we had no choice. The horses needed hay!

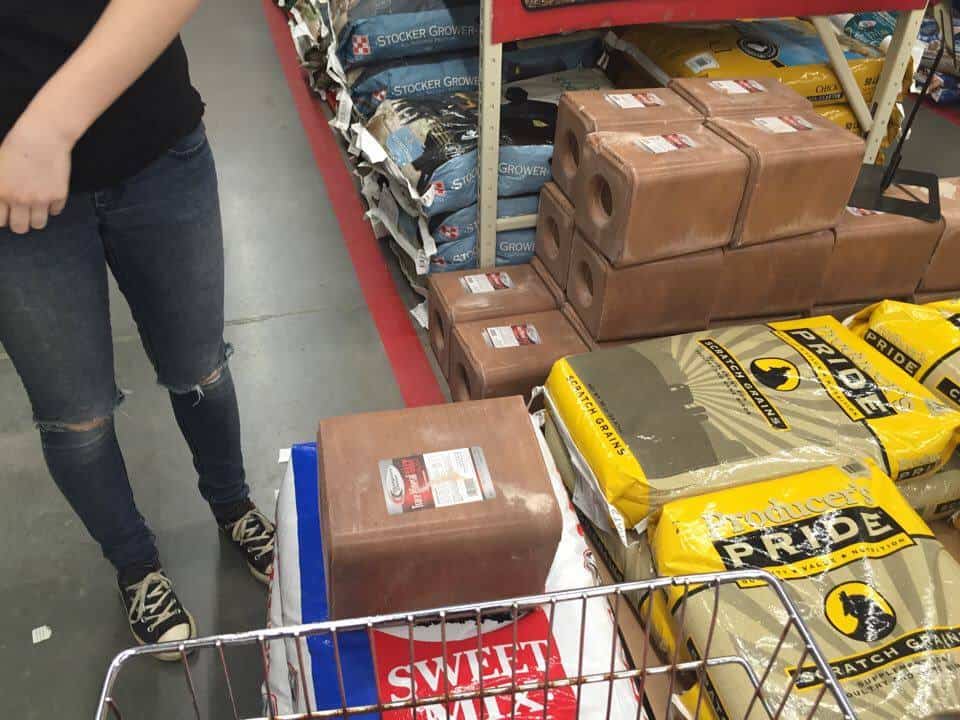
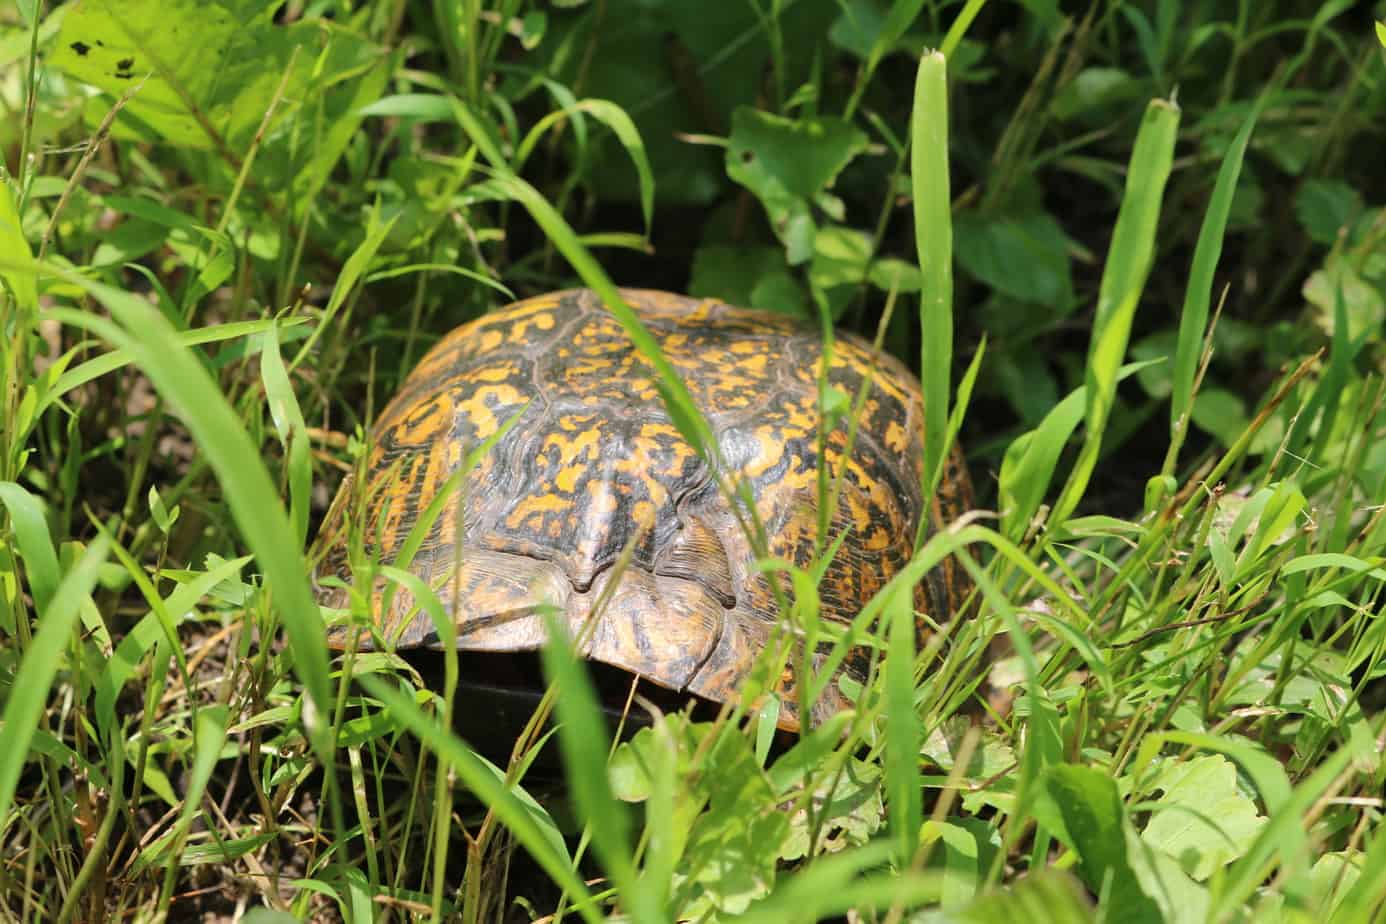
11:00 AM I arrived back in town with the load of hay. I stopped at the Tractor Supply to buy horse feed, a salt block, and cat food. Then, I picked up my son and his new wife and we all went out to the horses and stacked the hay. We rescued a turtle out of the road along the way.
12:00 PM We arrived back home. The girls got their swimming suits on and I packed a picnic lunch.
1:00 PM My husband and I took the girls to the pool at our favorite state park 45 minutes from our house.
2:00 PM We arrived at the park and ate our picnic lunch.
2:30 PM We went swimming – it was Laura’s birthday but we didn’t have a party. We’re planning a party on our big family camp out in July.
6:00 PM The pool closed so the girls and I changed into our clothes, packed up the car and drove home.
7:30 PM We ate a light supper. The girls watched a program on Netflix and I worked on editing {again} my first novel. I worked on that for two or three hours.
9:30 PM The girls and I took care of the cats, dogs, and rabbits.
10:30 PM I tucked the girls into bed, started the dishwasher, and went to bed.
Friday, June 24
10:00 AM I woke up late. I was exhausted from the busy week. I spent much of Friday working on finishing the edit of my novel so I could send it to a professional editor. The girls fed the cats, dogs, and rabbits.
11:00 AM We ate a late breakfast.
12:00 PM The girls worked on their own projects while I continued editing. The created a new YouTube video for their channel and also worked on their customizing of LPS dolls that they sell on ebay.
1:00 PM I loaded the dishwasher. Hannah and Laura did their chores. I stripped the sheets off my bed and washed those. The girls cleaned the litter boxes and the bathroom.
2:00 PM I continued editing. I also checked Facebook, answered a couple emails, and replied to comments on my blog.
5:30 PM I scheduled an older blog post to be published Saturday morning. I also updated the images.
6:00 PM I finished the editing I made supper and we ate. Did a few chores and relaxed until we went to bed.
9:30 PM The girls and I took care of the cats, dogs, and rabbits.
10:00 PM I tucked the girls into bed and shut down the house. Then I went to bed.
Saturday, June 25
7:00 AM I woke up, took a shower, and got dressed for church.
7:30 AM I woke up the girls and they got their showers. The girls fed the cats, dogs, and rabbits. We ate a quick breakfast of oatmeal.
9:00 AM We left the house for church.
12:00 PM We had potluck at church.
2:00 PM We arrived back home – my husband along with my son and his wife went to the nursing home to visit a member who has been sick.
2:30 PM I posted a Bible verse and picture to Instagram.
3:30 PM I packed the car with a picnic supper and I took Hannah and Laura to the lake for the afternoon.

8:30 PM We left the lake and drove home.
9:00 PM We arrived back at the house. Laura and I took the dogs for a 10 minute walk. My husband was home and we ate some snacks before going to bed.
9:30 PM The girls and I took care of the cats, dogs, and rabbits. I put in a load of laundry into the washing machine. Laura started packing for summer camp – leaving in the morning.
10:00 PM I began writing a blog post for Monday and got about half way done.
11:00 PM I tucked the girls into bed and went to bed myself.

4 Comments