Apple Butter Goodness

Preserving a Legacy of Family, Faith, and Food – November 1 – December 31
Written by Meghan Carver
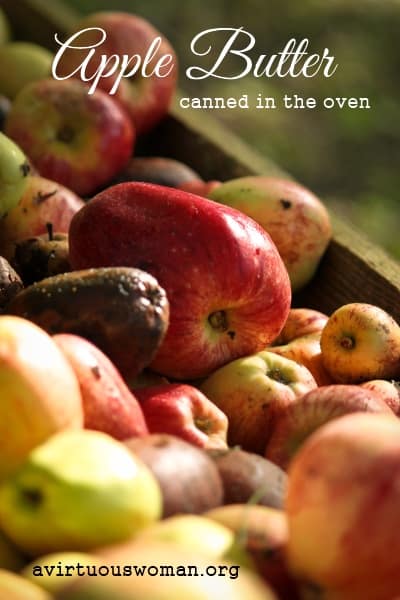
Few things usher in a holiday feel more than the aroma of simmering cinnamon and cloves, shiny gold and red apples, and a mug of warm cider. Add a plate of cookies and a fire crackling in the fireplace and life is complete.
My family and I accomplish this every holiday season with one simple tradition. We can apple butter. My older children peel apples while my husband cuts them up. I mix the spices, and the younger children gobble up the peelings as quickly as they fall off the knife.
Okay, so the word simple is a bit of a misnomer. The process can be long, but with the family working together and a break in the middle for cider and cookies, an afternoon of apple butter can preserve a memory of family togetherness.
The original version of my recipe is from my Better Homes & Gardens New Cook Book ~ the new cookbook my mother gave me when I was married over twenty years ago! Over the past few years, I’ve tweaked it here and there to produce butter that is a bit thicker and a bit more spiced.
Ingredients:
18 cups cooking apples, cored, sliced, and quartered (An apple peeler-corer-slicer makes this part somewhat less tedious than by hand, and the opportunity to crank the handle provides excitement for little helpers.)
4-6 cups apple juice
3 cups sugar (vary depending on the tartness of your apples)
2 heaping teaspoons ground cinnamon
1/8 teaspoon ground cloves
1 teaspoon ground allspice
Directions:
In a large kettle, combine apples and juice. Bring to a boil; reduce heat. Cover and simmer for about 30 minutes or until apples are very tender, stirring occasionally.
Turn off heat. Drain off excess juice. For me, this is anywhere from 2 to 4 cups. Don’t get rid of the juice. You’ll turn it into apple cider in a bit.
Press the apples through a food mill or sieve, ending with about 13 cups pulp. I don’t have a mill or a sieve, so I put my apples in the blender.
Return pulp to kettle. Stir in sugar, cinnamon, cloves, and allspice. Bring to boiling; reduce heat. Simmer, uncovered, about 2 hours or until very thick, stirring often.
At this point, your kitchen will have the very aroma of heaven. Now is the time to add a few spices to the warm juice you saved. Sit back and sip your cider out of your favorite mug. Enjoy it with a butter cookie or a homemade sugar cookie.
When the butter is thick, it’s time to can. Ladle the hot apple butter into hot, sterilized pint jars, leaving a ¼-inch headspace. Process the jars in a boiling-water canner for 5 minutes.
Alternatively, you can process (seal) the jars in the oven. (The USDA does NOT recommend canning in the oven.) There is some controversy with oven canning.
Some oven canners believe it to be fast and easy while others believe the risk of exploding jars too high. There is some inherent risk in every kitchen endeavor, so please research independently and understand the risks you are accepting. Should you choose oven canning, preheat your oven to 275 degrees. Be sure to sterilize your jars and lids before you fill them and tighten the rings. Using oven mitts, place the jars on a cookie sheet in the preheated oven. Heat for 20 minutes. After you remove them, place them on a cooling rack and listen for the ping.
This recipe makes about six pints of delicious apple butter goodness. Gather the family around for a day in the kitchen, and don’t forget your cider and cookies.
Note from Melissa: If you are new to canning, please read the guidelines found on the USDA National Center for Home Food Preservation and follow the recommendations carefully. Canning Apple Butter in the oven, in my opinion, should be safe as apples are considered a high acid food and some recipes for canning jellies, jams, butters do not even require you to process in a boiling water bath canner. However, it is up to you to make that decision for your family. Don’t take my word for it. Study the guidelines and make an educated decision on your own.
For More Information on Oven Canning:
[tooltip text=”TOOLTIP TEXT”]Meghan Carver is the author of several published short stories and articles. She is an English major undergrad and law school graduate who is living the dream she didn’t know she had – stay at home mom to six homeschooled children. She blogs about mothering, homemaking, and homeschooling at www.MeghanCarver.blogspot.com.[/tooltip]


2 Comments